
How To Vent A Dryer In The Middle Of The House
Most old homes that were not built according to today’s standards require the installation of laundry equipment in unexpected areas of the home. In some cases, this may lead to placing your laundry devices in the central part of your home.
Regardless of where you install your dryer, ensuring its proper ventilation is as crucial as the installation process itself. A dryer’s vent guides the heat and dampness from the dryer and expels it from your house. If the installation is not properly done, your home might have mold issues and mildew. In this article, we’ll talk about that. So, let’s start!
How To Vent A Dryer In The Middle Of The House? When setting up a dryer in the middle of the house, the ventilation should be directed downwards, allowing the air and dampness to exit through the floor. Given the absence of an exterior wall for ease of placement, orienting a periscope dryer vent downwards at a right angle is necessary for effective ventilation.
Below the floor, it is important to set up an additional periscope dryer vent, oriented in the opposite direction to the overhead one that is linked to the dryer. Utilize a foam sealant to secure the vent, ensuring that your new ventilation system effectively keeps dampness and hot air at bay.
However, this setup won’t work if your house lacks a crawlspace beneath the planned dryer location in the center of the house. Therefore, before deciding on this undertaking, it is necessary to consider these things carefully. Below we will go through this topic in more detail.
Is It Safe To Vent A Dryer In Middle Of The House?
Yes, venting a dryer installed in the middle of your home is safe. Although venting a dryer through an exterior wall is more secure, it’s still possible to safely vent a dryer in the middle of the house, given that necessary precautions are taken.
Venting a dryer in the house’s core can exacerbate the problem of lint, which is more manageable when we have an exterior wall.
This is due to the combustible nature of lint. When we have a dryer that is vented externally, the lint disperses freely and essentially keeps out of harm’s way.
However, venting outdoors isn’t always feasible when venting a dryer installed in the home’s core. In such situations, your optimal choice would be to vent downwards towards the basement.
Related Article: Does a Laundry Room Need a Floor Drain? Plumber Explain
Safety Measurements Before You Start Vent A Dryer
To ensure safe dryer venting in the middle of your home, there are a couple of things you must do:
- Ensure that the dryer vent remains clear on both sides.
- Make sure that the venting tube is clean
- Place a water-filled receptacle at the vent’s discharge end
- Apply vent pipes that are flexible
Remember, venting from the middle of the house heightens the chance of mildew and mold formation. This is because the moisture can’t escape and disperses into the surrounding air. To mitigate the risk of mold, aim to vent the home dryer downwards into a spacious area with good air circulation, if possible.
Related Article: Is There A Portable Air Conditioner Without Hose?
Required Materials For The Task
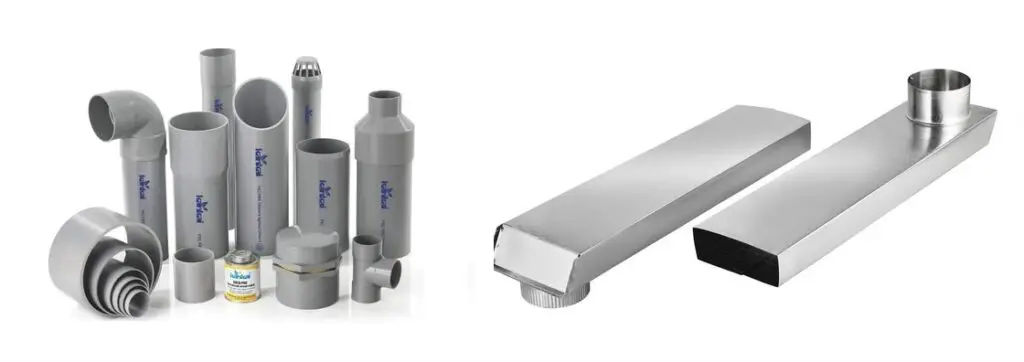
Before you proceed with venting a dryer in the middle of your house, you’ll need to gather several necessary items, which include:
- 2 periscopes for dryer vent hookups (around $30 each)
- Spray foam insulation (around $10.00)
- A PVC pipe (around $8.00)
If your home has a basement, you’re in a good position. You can utilize the PVC pipe to enhance the expulsion of heat and dampness from the house. Many basements come equipped with specific openings designed for venting.
If your home has these, extend the PVC pipe from the periscope all the way to the outside for optimal performance. Now, let’s talk about the steps necessary for venting a dryer in the middle of your home.
Here you can see a YouTube video where it is explained how to install a dryer vent in the middle of your home:
4 Steps To Vent A Dryer In The Middle of The House
Step 1: Position the Initial Venting Connection
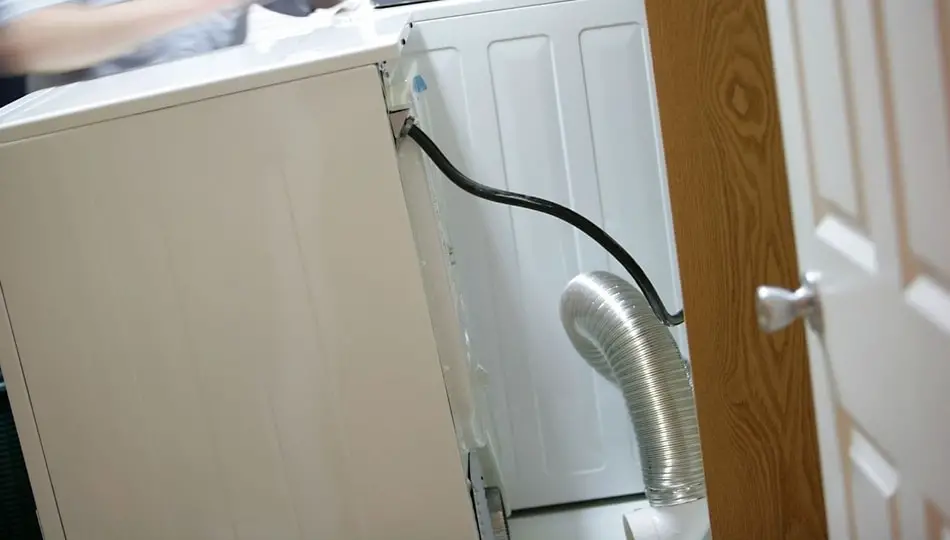
The first step is to insert the venting periscope through an existing vent in the floor, if available. If not, it will be necessary to create an opening. Position the periscope as close to a right angle (90-degree) as possible and align it with the dryer. Attach the dryer’s rear to the periscope to ensure it fits properly.
If the fit is not good, you may need to buy one that is suitable for your vent. Another thing you can do if you have an undersized connector is to get a clamp. This circular clamp can be affixed around the apparatus, then tightened securely without impeding airflow, effectively keeping everything in place.
Step 2: Install The Second Venting Periscope
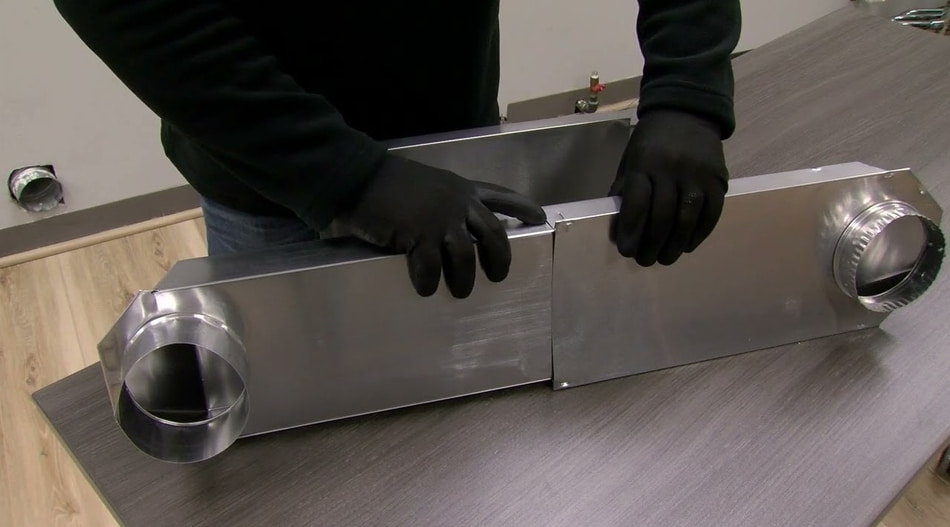
Now, go to your basement to see if the periscope that you placed is properly positioned. Next, connect the second periscope to the first by aligning the top unsealed end of that second unit with the open lower end of the first connected to your dryer.
Once you do this, the lower opening of the second periscope should point in a direction contrary to the upper end attached to the upstairs dryer.
Step 3: Use Spray Foam And Insulate
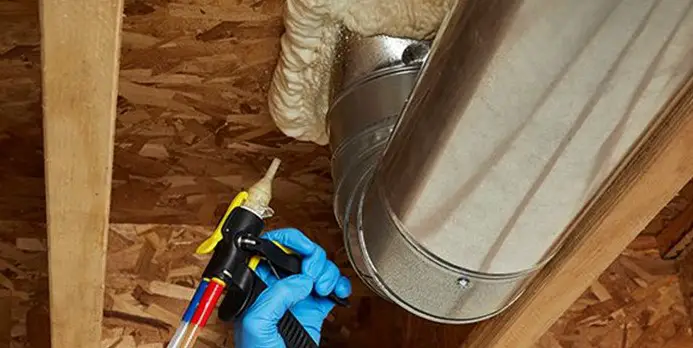
Although a silicone sealant could serve the purpose, it is highly recommended to use spray foam insulation for sealing the downstairs periscope.
This approach greatly reduces air circulation and lint dispersion when we run our dryer. Remember to avoid obstructing the airflow when you use the sealant. Use it on the outer surface, not the vent’s interior.
Step 4: Install PVC Pipes
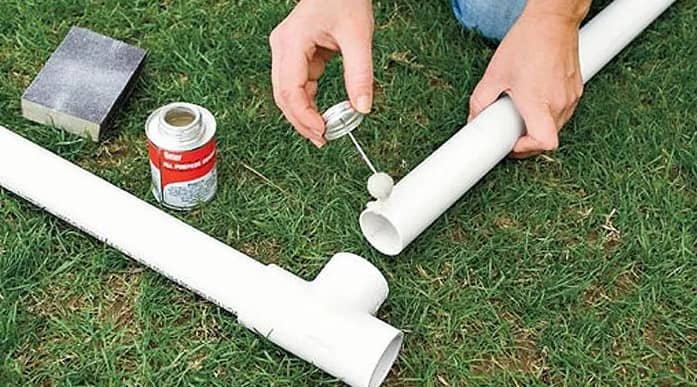
When we talk about PVC pipes and how you should place them, there are two scenarios that can work. Here we will talk about both of them. So, let’s begin:
PVC Scenario 1:
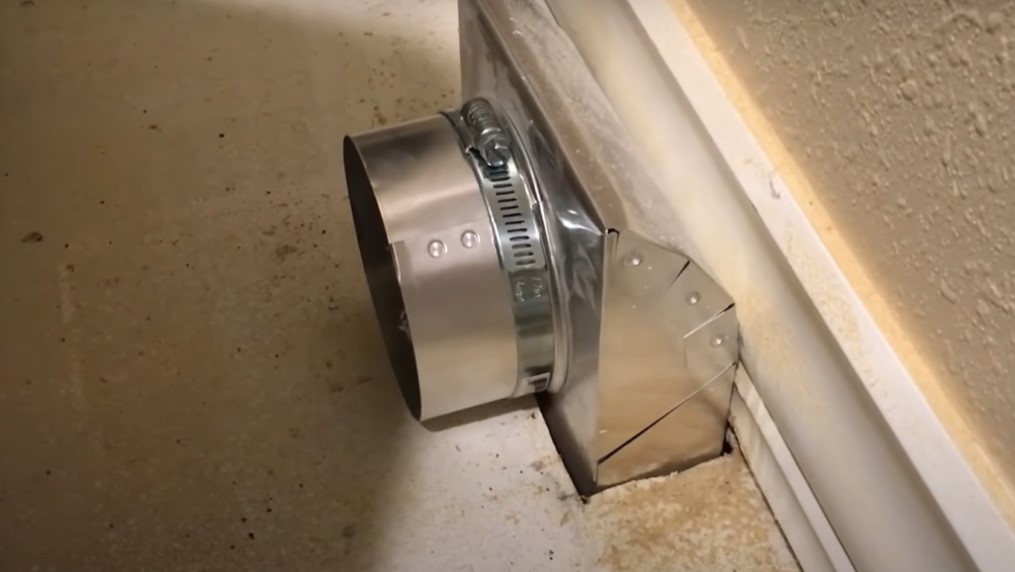
In 1st scenario, suppose you have a normal basement that provides space to extend a PVC pipe outdoors. If that’s the case, it’s ideal as it reduces mold growth and overheating potential. Do the measurements for the opening of the periscope. It usually requires a 5″-6″ PVC pipe for connection.
Link the PVC and extend it entirely to the external outlet. Ensure a 5″-8″ protrusion outside to ascertain efficient heat expulsion. As an added precaution, secure a flap or a mesh to the PVC pipe end to prevent insects from intruding.
PVC Scenario 2:
In scenario 2, you might not have the option to vent outside due to your basement’s lack of exterior access. Nonetheless, you can still use a 5″-6″ PVC pipe and secure it to the open bottom that is placed at the end of the periscope, directing it downwards.
Consider placing an open water container beneath your PVC pipe if space allows. If excess lint travels through the vent system, it will be collected in the water. This practice aids in mitigating the fire hazard that might be associated with indoor dryer venting.
When To Hire A Professional?
While it’s possible to vent a dryer in the middle of the house as a do-it-yourself project, you may choose to hire a professional for convenience, efficiency, and safety.
Professionals are skilled and experienced in handling any challenges that might arise, ensuring the job is done correctly and safely. They also have the right tools and knowledge about local building codes, which is crucial in avoiding potential issues in the future.
Related Article: What Kind of Duct to Use for Bathroom Fan
FAQ: People Also Ask
What should be the length of a dryer vent?
A dryer vent located in the middle of a home should not exceed 35 feet. This is because a more extended length could hinder the effectiveness of expelling gases from your home. There’s a chance that these gases could re-enter your home through the dryer, contingent upon where the vent is connected to or running through.
Can dryer vents be cleaned over time?
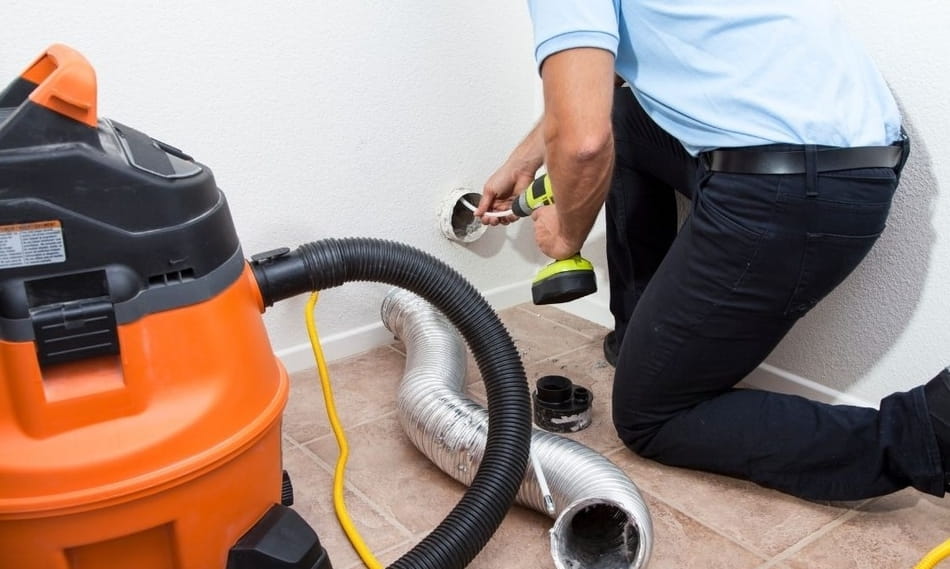
Yes, it is recommended to maintain the condition of your dryer vents through regular cleaning. You should aim to examine your dryer at least once a year if you notice some changes. Typically, venting complications arise due to lint accumulations. Use a long tool or rod to dislodge and remove the excess lint gently.
How much does venting a dryer cost?
The price range for venting a dryer in the middle of your home is typically around $90 to $250. However, this cost depends a lot on the materials you will use. But, if you decide to hire a professional for this task, the cost would naturally increase. Professional service fees for this job can range from $180 to $550.
Final Thoughts
As we can see, venting a dryer is possible, even if we have one in the middle of our home. Some houses are simply made so that the laundry room is positioned in a hallway in the center. We also mentioned that it is necessary to have ventilation to avoid the accumulation of moisture, which is also present.
After successfully setting up your dryer vent in the middle of your home, remember to conduct a thorough check at least once a year to clear any lint accumulations. Lastly, if you don’t feel confident doing this task yourself, consider hiring a professional to undertake the job or provide assistance.