
How To Fix Garage Door Gaps on Sides
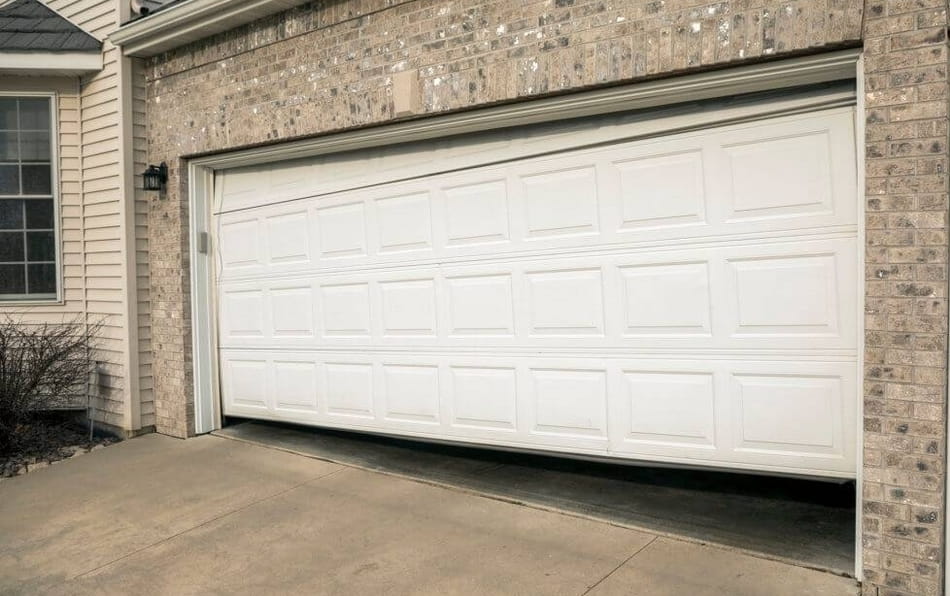
If you have gaps on sides of your garage door, you’re in the right place. Securing your garage door from intrusive drafts, dust, and noise isn’t as complicated as you might think. The secret lies in addressing all parts of your garage door and not just the bottom edge. In this article, we’ll explore how you can bolster a garage door by securing its often-overlooked sides.
While our focus is on the usually disregarded parts of a garage door, it doesn’t mean that other sections should be left unattended. Garage doors can be challenging due to the numerous gaps and crevices, allowing drafts to enter not only from the bottom but also from the spaces between the door.
How To Fix Garage Door Gaps on Sides? To fix garage door gaps, use a weatherstripping seal. Seal can effectively eliminate any gaps or tiny cracks. When the garage door is shut firmly, the seal will ensure no air, light, or unwanted critters enter the garage. It’s a simple yet effective solution to seal garage door gaps.
In the following sections, I’ll walk you through a complete method on how you can effectively fix side gaps in your garage door. So without further ado, let’s get started.
Simple Guide To Sealing The Sides Of Garage Door
There’s no point in discussing whether your garage door sides require sealing or not. Let’s make it simple – if there’s a gap wide enough to insert a small item between a garage door and its frame, you have a problem. However, don’t worry – fixing this issue will be simple. Here are the steps you need to follow:
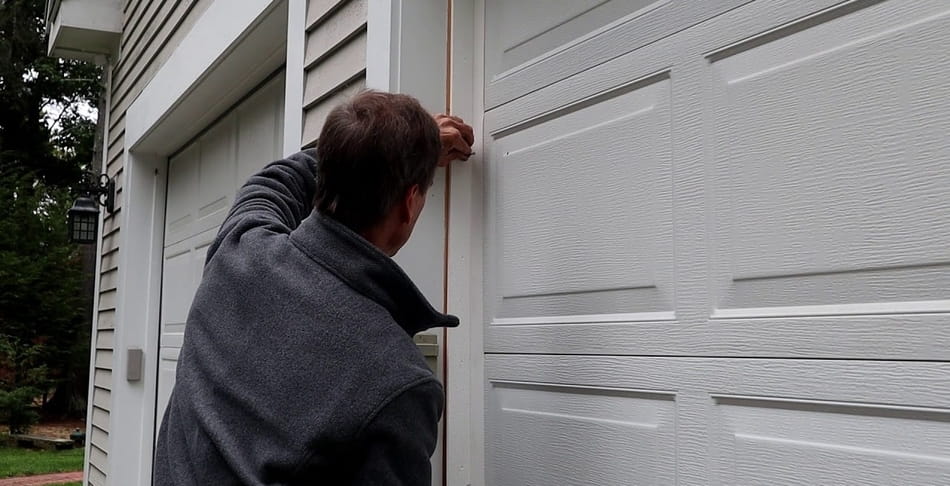
1. Inspect Garage Door for Any Gaps
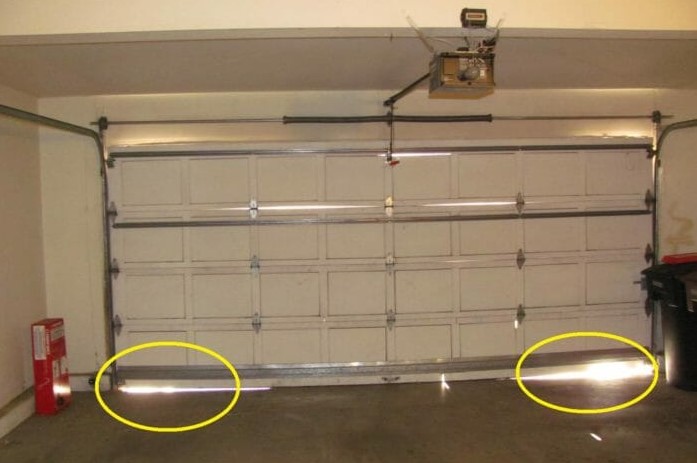
In most cases, detecting air gaps in garage doors is pretty easy. However, if you don’t know, there are a couple of methods that you can try to see if you have gaps on sides:
- During the night, go inside the garage and turn the lights on. After that, go outside and see where the light passes.
- An external draft, particularly during the cooler days, is also a sign that there is a gap.
- Also, if you hear that the sound passes into the garage, you most likely have gaps in your garage doors.
Finally, the last test we advise you to do is to use a pencil. To do this, just slide a pencil into the suspected garage door gap. If the pencil slides in effortlessly, it’s time to spring into action. A gap so big that you can push a pencil through can let dust, insects, and unwanted noise.
Related Article: How To Ventilate A Garage With No Windows? (Top 7 Ways)
2. Examine the Situation
If you’ve noticed a significant gap, it’s time to figure out the problem. Tracks and stops are usually to blame for these gaps.
Stops are the rubber linings inside your garage door that ensure proper closure. They are placed on the top, sides, and bottom of the door. Over time, they can warp, causing gaps. Don’t worry, though! You can easily fix this by adjusting their position. Use caulk to seal these gaps, and you’ll restore a tight seal.
In some cases where the stops are fully warped, you will probably replace them completely. But don’t panic! You can find suitable replacement stops at your local hardware store. Once you’ve replaced them, your garage door will be good as new.
If everything is fine with the stops, check the tracks, especially if you have sliding garage doors. Misaligned or bent tracks can cause the door to sag, resulting in gaps on the edges. If so, consider replacing the tracks to restore a smooth, gap-free operation.
Lastly, don’t forget to look at the condition of your weatherstripping seal. Over time, weatherstripping can wear out or get damaged, leading to gaps in the seal. If you notice any issues, promptly replace the weatherstripping to maintain optimal insulation and protection.
3. Gather All The Tools
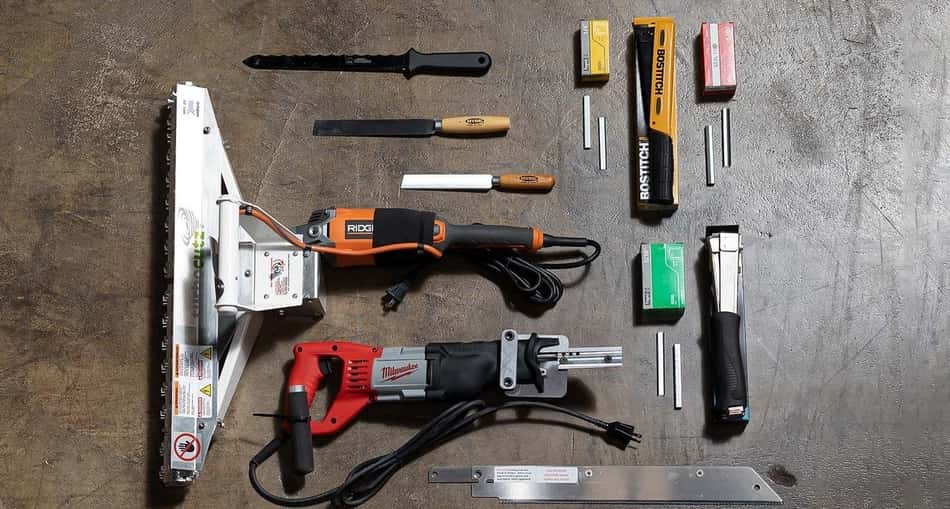
Now we know where the problem is, let’s make sure we have the necessary tools for the job. Here’s a full list of tools and materials that we need to fix your garage door:
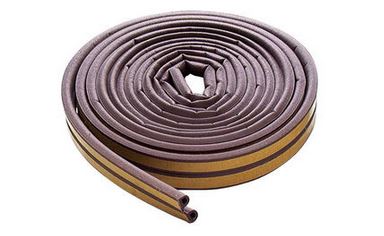
- Weatherstripping Seal: This adhesive roll is the best choice to seal off the gaps effectively. Remember, the size of the seal you need will depend on the size of the gap you’re fixing.
- Tools: You’ll need a few tools to get the job done. Options include a hammer, driller, or pneumatic stapler—choose the one that suits you best.
- Nails or Screws: These will usually be the part of your weatherstripping kit package. They’ll be essential for securing the seal in place and ensuring a secure fit.
- Caulk: By using caulk, you will provide a fantastic finishing touch. It helps create a clean and professional look while enhancing the seal’s effectiveness.
- Saw or Utility Knife: These tools will come in handy when you need to trim or cut the weatherstripping seal to the appropriate size. They’ll ensure a precise fit for your garage door.
When using a weatherstripping seal, measure the length of one door and then multiply it by two. This total will be the length of the seal you need to purchase.
If you need to fix your garage door completely, calculate the total length of the seal by adding the door’s length to the width (and then multiple this by 2). By doing this, you’ll get the total length required to seal your garage door.
Armed with these tools and supplies, you’re well-equipped to tackle those pesky gaps in your garage door. Remember, properly sealing your door will enhance its performance, energy efficiency, and security.
4. Prepare Garage Door for Fixing
After gathering all the necessary tools, it’s time to roll up our sleeves and fix garage door gaps! The simplest solution for addressing those bothersome gaps in your garage door is by using weatherstripping.
However, if you already have this seal and it’s worn out, be sure to replace it. Usually, weatherstripping seals use vinyl as material, which does not have a very long lifespan.
Let’s walk through the steps to prepare your door for fixing:
- Start by removing the old weatherstripping seal. Use a sturdy and sharp knife. Carefully cut through the old caulk and remove seal that is placed all over the door. Take your time and ensure a clean removal.
- Once the seal is off, it’s a good idea to inspect your door jamb. There’s a chance that some sections might have been damaged during the removal process. But don’t worry, you can easily fix this.
- Pay close attention to the edges of your door. If you notice any nail holes, you might want to consider using wood putty to fill them. Creating a smooth surface is crucial to ensure that the new seal adheres properly and provides a secure fit.
Related Article: Program Garage Door Opener In Car Without Remote
5. Prepare the Seal
Now that your garage door is set, it’s time to move on to the next step: placing the new seal. Here’s what you need to do:
- First, you need to measure the length of the door or the specific side of your garage door that need a new seal. If you’re working alone, be sure to get a retractable tape.
- Next, be sure to trim this seal to fit the precise measurements. Seals usually have a standard lengths of 7 ft (2.15 meters). However, if you’re in need of a longer option, consider get the M-D 3822 Vinyl seal. This sturdy vinyl seal not only withstands the elements effectively but also offers flexibility.
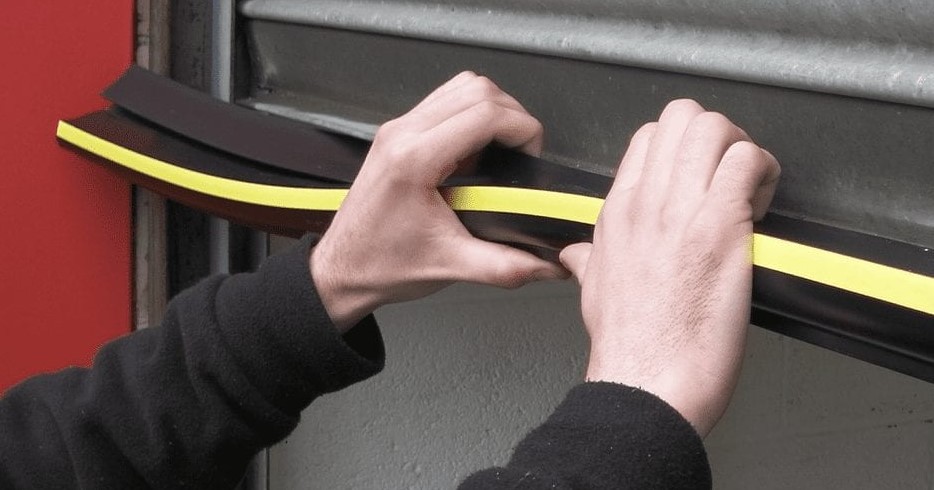
6. Attach the Seal
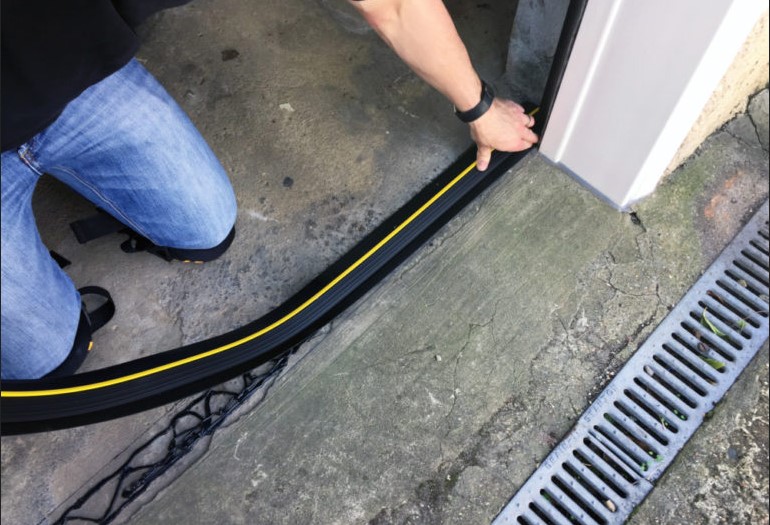
Now comes the crucial step of attaching the seal securely to ensure a proper fix. Let’s go through the process together:
- To start, you’ll need to secure the adhesive seal by adding nails. Aim for a space that is approximately 16 inches (around 42 cm) between each nail.
- Before inserting the nails, it’s important to check everything. Make small marks on the door jamb where you want to place the nails. Take a close look to ensure there are no noticeable gaps between the seal and the door jamb.
- Once you’re done with the alignment, be sure to drill the nails into your door seal. This initial step allows you to verify the position of the seal before adding the nails.
- Take one final moment to double-check the seal’s position and alignment. Once you’re confident, proceed to drive these nails in, ensuring a secure and snug attachment.
By following these steps, you’ll ensure that the seal is firmly attached, providing a reliable and effective barrier against gaps in your garage door.
7. Caulk the Gaps
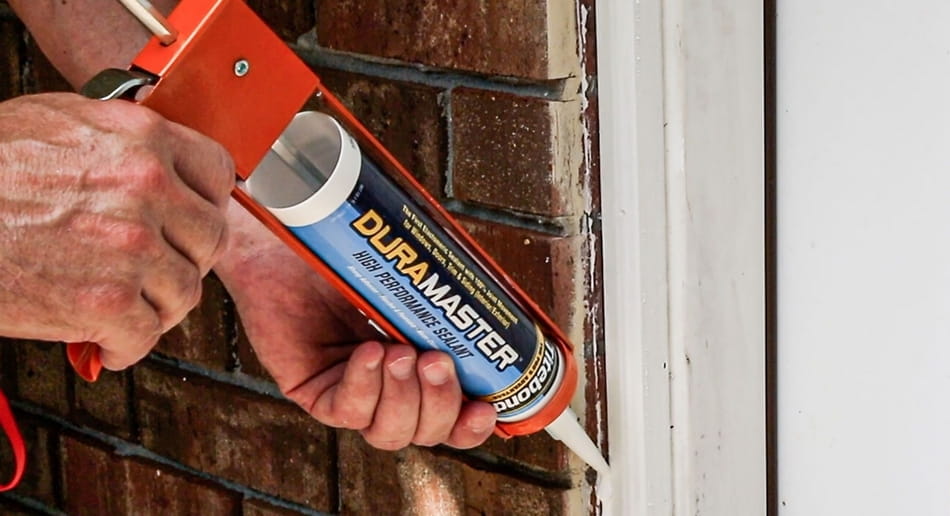
If you’ve completed the nail attachment and noticed a small gap, don’t worry! You can easily rectify this by applying a caulking gun. Do this:
- Begin by applying the caulking gun along the edge of the door, specifically between the door jamb and the seal. This will ensure that the gaps are properly filled with caulk.
- After applying the caulk, take a moment to run your finger along the bead of sealant. This not only helps smooth out the caulk but also ensures that it fills any cracks or crevices that may have been missed by the caulking gun.
8. Try To Use Adhesive
While adhesive can be an alternative to nails and screws for a better finish, we don’t suggest this method due to its drawbacks when it comes to sealant removal. However, if you still choose to go with this option, then follow this process:
- Utilize a sealant gun to carefully use a narrow and consistent layer of adhesive onto the door jamb. Take your time to ensure even coverage.
- Gently place your seal onto the adhesive and make sure to pressure it until it fully dries. This will ensure a strong bond between the seal and the jamb.
- To remove additional glue, rub alcohol along the edges of the jamb. This will help dissolve and clean up any residual adhesive.
- Allow the alcohol to fully penetrate into the seal. After that, gently wipe it off by using a cloth. Be cautious not to disrupt the bond that is placed between the jamb and the seal.
While this adhesive method may provide a smoother aesthetic, it can pose challenges when it comes to future sealant removal. Therefore, I recommend following the nail or screw attachment method for a more practical approach.
Here is also one educational video that might help you fix your garage door:
Related Article: Should You Insulate Your Garage Ceiling? Explained
Final Thoughts
Weatherstripping sealing proves to be an economical solution for addressing gaps on the sides of your garage door. Replacing garage seals is an easy fix that won’t require much of your time. By having the appropriate tools in your home and a new seal, you can easily finish the installation within an hour or less.
Rest assured, our step-by-step guide provides clear instructions to assist you throughout the process. However, for those who are unsure or prefer professional assistance, don’t hesitate to contact a reliable door technician. Your satisfaction and a well-sealed garage door are our ultimate goals.
